Making your own vanilla extract at home is not only a fun and rewarding endeavor but also allows you to enjoy a premium ingredient in your culinary creations. In this blog post, we’ll guide you through the simple steps of crafting homemade vanilla extract, ensuring you have a high-quality, aromatic addition to elevate your baked goods and desserts.
Ingredients:
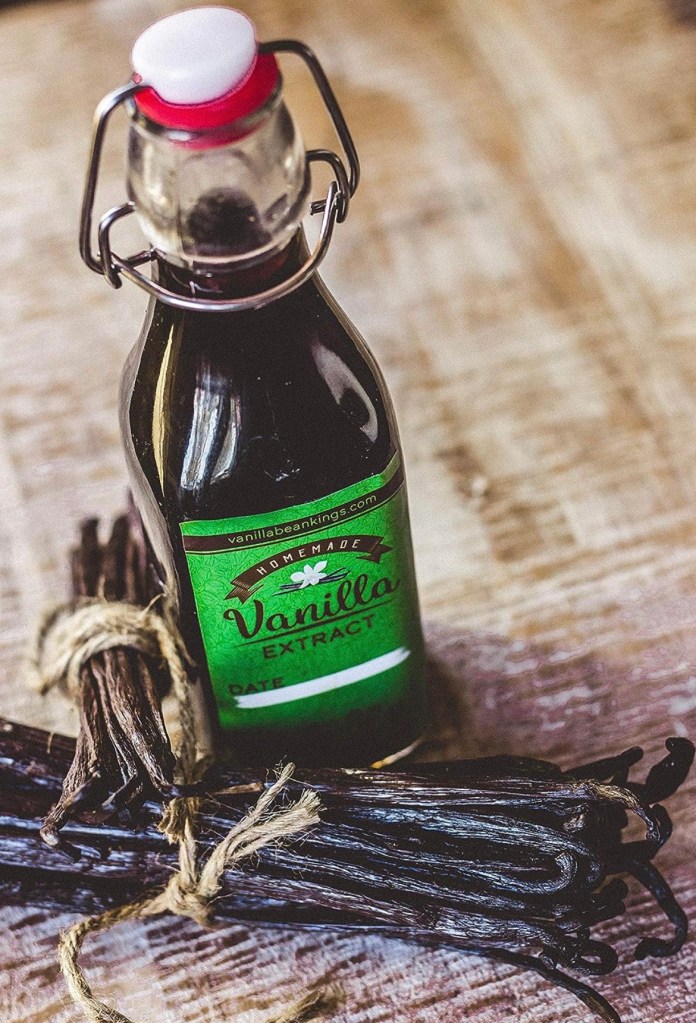
1. Vanilla Beans: Choose high-quality vanilla beans for the best flavor. Madagascar or Tahitian vanilla beans are popular choices.
2. Alcohol: Opt for a clear, neutral spirit like vodka or bourbon. The alcohol extracts the flavors from the vanilla beans and preserves the extract.
Steps:
1. Select and Prep Your Vanilla Beans:
• For a standard batch, use about 6-8 vanilla beans.
Split each bean lengthwise, exposing the tiny seeds inside.
• Don’t discard the empty vanilla pods; they can be repurposed for other recipes.
2. Choose Your Alcohol:
• Vodka is a popular choice for its neutral flavor, allowing the vanilla to shine. Bourbon can add a unique twist with its rich, smoky notes.
3. Combine Vanilla Beans and Alcohol:
• Place the split vanilla beans in a clean, airtight glass jar.
• Pour the alcohol over the beans, ensuring they are fully submerged.
4. Infuse and Store:
• Seal the jar tightly and store it in a cool, dark place. Shake the jar gently every week to aid the infusion process.
• Allow the vanilla extract to steep for at least 8 weeks. The longer it sits, the richer the flavor will become.
5. Strain and Bottle:
• After the infusion period, strain the vanilla extract to remove the vanilla bean particles.
• Transfer the clear liquid into a clean, airtight bottle for storage.
Tips:
Patience is key: Let the vanilla beans infuse the alcohol for the full recommended time for the best flavor.
• Experiment with bean varieties: Different types of vanilla beans can impart unique flavors to your extract.
• Store in a cool, dark place: Protect your homemade vanilla extract from heat and light to maintain its quality.
Here is a great kit to get started https://amzn.to/4aZLjWC
Conclusion:
Crafting homemade vanilla extract is a delightful and straightforward process that rewards you with a superior ingredient for your kitchen. By following these simple steps and allowing time for infusion, you’ll soon have a bottle of rich, aromatic vanilla extract ready to enhance your favorite recipes. Enjoy the satisfaction of creating something delicious from scratch and elevate your culinary creations with the unmatched flavor of homemade vanilla extract.